Installing IBM MQ
Navigate to MQServer folder and run Setup.exe file as administrator. Once you double click you will be able to see similar Interface to below figure. On that navigate to IBM MQ Installation tab and click on Launch IBM MQ Installer.
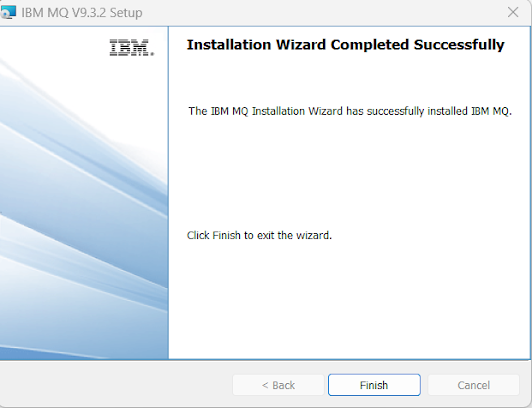
After click on the Finish it will prompt to next Installation "Prepare IBM MQ Wizard" on that also you can click next and continue installation. In Network configuration you can select default selected No option for domain controller. Then click next and it will finish the installation. Click Finish on the final Interface and then restart your computer.
After restart you should be able to see the IBM MQ Server instance in your Windows Bar as show in below figure
Also if you go to the services you can see the IBM MQ running as service.
Creating IBM MQ Users
First go to the services and Stop "IMN MQ" service.
Then go to following location "C:\ProgramData\IBM\MQ\web\installations\Installation1\servers\mqweb" and open the mqwebuser.xml file.
Add following highlighted area in to the file.
In this section, first I have added admin as a user in to the system with password. Then I have added Web console and MQ messaging user as admin,
<?xml version="1.0" encoding="UTF-8"?>
<server>
<featureManager>
<feature>appSecurity-2.0</feature>
</featureManager>
<sslDefault sslRef="mqDefaultSSLConfig"/>
<enterpriseApplication id="com.ibm.mq.console">
<application-bnd>
<security-role name="MQWebAdmin">
<group name="MQWebUI" realm="defaultRealm"/>
</security-role>
</application-bnd>
</enterpriseApplication>
<enterpriseApplication id="com.ibm.mq.rest">
<application-bnd>
<security-role name="MQWebAdmin">
<group name="MQWebUI" realm="defaultRealm"/>
</security-role>
<security-role name="MQWebUser">
<group name="MQWebMessaging" realm="defaultRealm"/>
</security-role>
</application-bnd>
</enterpriseApplication>
<basicRegistry id="basic" realm="defaultRealm">
<user name="admin" password="123321"/>
<group name="MQWebUI">
<member name="admin"/>
</group>
<group name="MQWebMessaging">
<member name="admin"/>
</group>
</basicRegistry>
</server>
Now restart the IBM MQ service in Services then open Command Prompt and navigate to C:\Program Files\IBM\MQ\bin location then type strmqweb.bat then press enter to Start IMB MQ Web console.
Then you should be able to access the IBM MQ Web console https://localhost:9443/ibmmq/console/login.html.
Then enter the user name and password configured in the mqwebuser.xml file and you should be able to log in to IBM Web console.
After successful login you should be able to see similar figure as below.
We successfully installed the IBM MQ in windows.


